* = I don't have real measurements because I cook by adding things until it tastes good...so...well, good luck.
Today, I hung out at my friend Kate's place and made sprouted hummus! Kate has been working on sprouting garbanzo beans over the last few days so that we could make hummus without cooking the beans. That means each bean packs a whole lot more nutrients than a cooked bean due to all the goodness produced from the newly grown sprouts.
Look at these beauties and their lovely little sprouts!
Here are some simple directions on sprouting your own garbanzo beans:
- Put 1/2 cup dry beans in a large glass jar after rinsing them clean.
- Cover beans in 1 to 1.5 cups of cool water, and lay cheesecloth over mouth of jar. Allow beans to soak for 8-12 hours.
- Drain beans completely.
- Rinse and drain beans. Place jar out of sunlight at room temperature for 8-12 hours.
- Repeat step 4 three more times (a total of 3-4 rinses). Sprouts are ready to use when they reach at least a few centimeters in length.
I forgot to mention that Kate's kitchen is AMAZINGLY beautiful. My new mission is to move into her complex in April. The entire place is amazing! And cheap!
Beautiful olive hummus. Soo tasty.
Once you have your sprouts, it's hummus time!
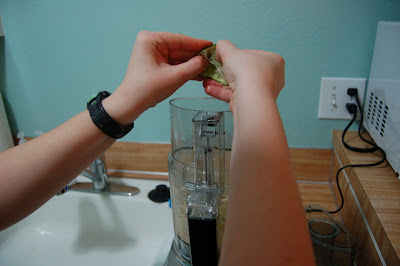
We found that the best texture comes from starting with the garlic cloves. By blending these in a food processor (best Xmas gift ever, by the way) first, you get a smoother mixture in the end. For about 3 cups of sprouted beans, we used more than 5 cloves of garlic.
By the way:
Benefits of garlic include treating acne, preventing yeast infections, controlling cholesterol, repelling mosquitoes, and warding off the common cold (and common vampires/ vampire-obsessed teens). So, in my opinion, the more garlic the better.
Next, we added the sprouts. This is where it gets a bit weird. The consistency isn't going to be the same as cooked beans, because the sprouted beans are much firmer. They will still blend, but the mixture will be a bit more grainy. Next comes the tahini.
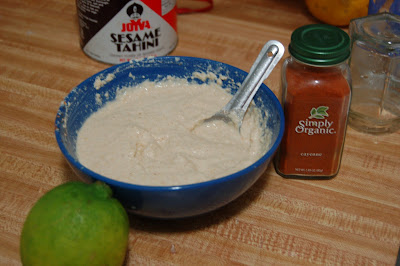
We kind of added our tahini a bit willy-nilly-- the important thing to keep tasting for is a creamy texture and the nutty flavor of the tahini.
Cool tip: if the flavors just aren't mixing, stick 'er in the fridge and cool down the mixture. The food processor really heats up the hummus, which makes the flavors less distinguishable.
Now the flavor-boosters. Lots of lemon and lime, a tablespoon or two of olive oil, a few teaspoons of salt, and a bit of water. I know, I know, I'm not giving the specifics you want...but really, just add the ingredients according to your taste preferences and the kind of texture you are looking for. Reserve some chickpeas if it gets too watery so you can thicken it up, but just keep in mind: when in doubt, add salt, garlic, or lime. Delicious.
Once we had our base, we decided to play around with flavors.
Our first was a chili-lime hummus, inspired by one I bought at a farmers market in Squamish. We just added a bit of cayenne pepper (to our preffered spicy-ness) and some extra lime and salt. Yummy!
The second was just plain magical. Kate introduced me to this amazing salt from Whole Foods --- Rosemary Lavender Salt. It's incredible!
We added some to plain hummus, adding a bit more tahini and lemon. It has a nice suttle taste, and an after-taste of lavender. Like I said, magical.
Overall, a delicious evening. Then I went home to slow-cooker potato soup! Gawd, I'm sickeningly kitchy. But it was fun-- lemme know if you try it!


